Have you ever been to a city car park with numerous vehicles bound for different places? If you were new there, chances are that you had a hard time—and maybe even frustrated—trying to find the bus that’s headed for your destination.
But also, chances are that it was quite easy for you to find your bus, because each vehicle had its destination indicated on its body in some way.
Either way, the importance of markers or tags to help you quickly know the destinations of the buses cannot be overemphasized.
So, it is with copies on a web page: heading tags come in very handy, because they provide quick information about the content.
1. What Are Heading Tags?
First, let’s know what a heading (or header, or headline) is. A heading is a short sentence or phrase formatted differently and place just above a page content or a section of the content.
It serves as the topic of that paragraph.
Now, search engines don’t read words the exact way as we humans do.
So, we format our headlines in HTML formats in order for search engines to easily identify and interpret them, and thus make sense of what the web content or its section is about.
Headlines that are formatted this way are known as heading tags. They are also called title tags.
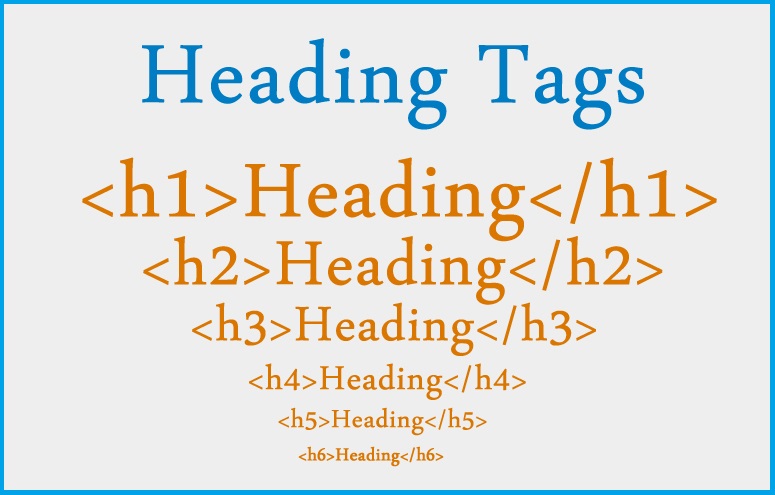
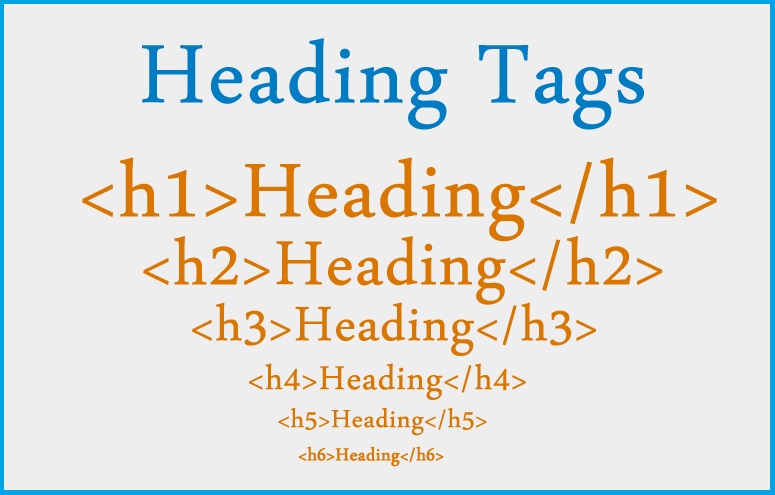
They look this way: (<H1>Understanding Heading Tags</H1>).
The above style is the “behind the scene” code of the headline ‘Understanding Heading Tags’ that you see in the blog post.
The denotation H1stands for the main headline, usually the topic of the copy.
This main headline contains the primary keywords and it is placed at the top of the content.
Other headlines, which are actually sub-headings, are formatted as H2, H3, until H6, according to their importance to the post.
2. How To Use Heading Tags
2.1 How To Use Heading Tags in Word Document
To format your heading tags when working in word documents such as MS Word, you need not bother about the coding language “<H1>” and whatnot.
All you have to do is this:
1. Highlight your main headline.
2. Go to the Style gallery and select Heading 1.
You will notice the font of the headline has changed. You can manually change this to your taste.
If you do, then go back to the Heading 1 option: right-click it; then click Update Heading 1 to Match Selection.
3. Do the same for the rest of the subheadings. Select Heading 2for your next important headlines, and so on.
Note: Although multiple headlines can be assigned H2, or H3, etc.
Never assign H1to more than one headline per page, because this will confuse the search engine and therefore lower your ranking in the organic search.
4. When you are done, save your document in .html format. This way, your heading tags will be activated when you upload your content onto your blog page.
2.2 How To Use Heading Tags in WordPress
In WordPress block editor, there are two interfaces where you can format your heading tags, namely, Visual and Text.
Both icons are located side by side on the top right corner of the editor. The Text option is for those who are code savvy.
1. We will use Visual instead. So, click on it.
2. Highlight the heading that you want to tag.
3. Select Paragraph at the toolbar section, located at the top left corner. This shows the headings, with Heading 1 as the first and largest.
(If you can’t find the Paragraph option, toggle the toolbar. Or simply press Shift+Alt+7 on your keyboard for direct access.)
WordPress automatically tags the title of your blog post as Heading 1 (that is, H1). So, there is no need choosing Heading 1 for any heading.
4. So, select Heading 2 (H2), or Heading 3 (H3), etc., for the rest of the sections.
5. You could manually format the headings to your taste, such as the font style, font size, alignment, and so forth.
6. Click Update. You’re good to go!
Note: Ensure you use only one H1 tag per page. And you do not need to assign tags to headlines such as Conclusion and Introduction, because they have no SEO relevance.
To view all the tags in your blog:
Right-click on your web page. Click Inspect, and select, View Page Source.
3. Benefits of Using Heading Tags to SEOs and Readers.
Conclusion
Heading tags are coded formats for headings or headlines.
You use headlines to organize your blog content for easy readability and accessibility.
They reveal the focus of the page at once. Heading tags optimize your posts for high ranking in the organic search of search engines.
Endeavour to work your primary keywords into your main heading tags, and then your relevant keywords into your other heading tags.
Enjoy!


