I guess you don’t know. That’s it.
Are you looking for how to approve iPhone from a Windowscomputer, Mac or other iOS devices?
In this post today, you will get to see how to do all that comfortably with ease.
This is the A – Z Guide of how to approve iPhone from another device.
I will provide you with the steps and processes on how to achieve that.
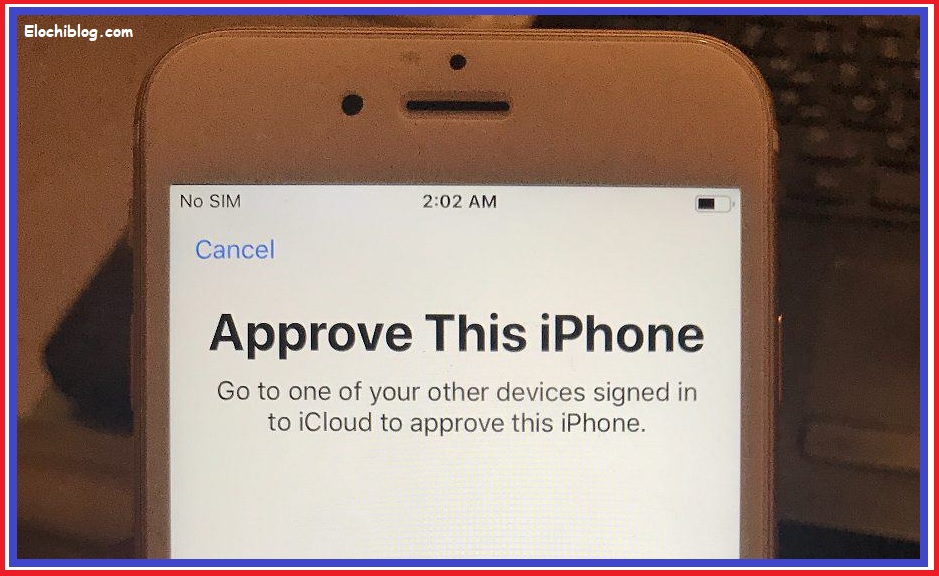
Also, I will show you how to avoid the “Approve this iPhone” feature.
You will be amazed to see how simple it is.
I hope you are ready for it now? Follow me quickly and read on.
Let’s see the available steps on “how to approve iPhone on iCloud” and ways to avoid the “Approve this iPhone” feature.
Read Also: How to Hard Reset iPhone 7 and iPhone 7 Plus
2 Easy Steps on How to Approve iPhone from another Device
Here, you can approve an iPhone using Mac or other iOS devicesand even without another device.
Apple devices are one of the safest phone devices that provide strong security for your data and information.
Thus, this Approve iPhone system is part of the security verification features for devices.
Once you get a new iPhone device, you will be required to approve it using another iPhone, Mac, or other iOS device.
However, you can disable this feature, but I recommend keeping it turned ON for security purposes.
Now let’s see the steps to approve an iPhone using Mac or any other iOS device.
Step 1: Get the Verification Code
- Firstly, get your Mac or other iOS devices like (iPad/iPhone) and log in to your iCloud account.
- Then, go to Settings.
- Click on Apple ID.
- Next, you go to Password & Security.
- Click on the Get verification code option.
- Finally, tap on, OK.
Step 2: Use the Verification Code
- Go back and get the device asking for approval, that is, the one you want to approve.
- Now, check, and you will see the tab asking for approval is no more there.
- Automatically, your iPhone is approved.
Voila! You have successfully approved your iPhone device.
Read Also: How to Reboot iPhone 6 Without Losing Data
2 Methods to Avoid “Approve this iPhone” Feature
Do you always get stocked and frustrated with the “Approve this iPhone” feature that pops up sometimes?
Now, I will show you the two best methods to avoid this while you enjoy using your iPhone.
Remember, this feature works in securing your iCloud data; therefore, try not to disable it, as you might put your data at risk.
Hence, I recommend you enable it, keep it ON to serve its purpose, and not turn it off.
Nevertheless, here are the two simple ways to avoid this “Approve the iPhone” feature.
Let’s quickly see them.
1. Turning off the Two Factor Authentication
Step-1: Firstly, click on Cancel to skip the “Approve the iPhone” window once it pops up.
Step-2: Then, go to your iPhone Settings.
Step-3: Next, go to Apple ID.
Step-4: Locate Password & Security, and click on Two-factor authentication.
Step-5: Now, turn off the two-factor authentication.
Once this is done, you will be required to reset your iCloud/iTunes account password.
After that, you will receive an email notification, then follow the link and click on it.
Step-6: Now, go back to settings and retry the “Approve the iPhone” feature.
Step-7: Automatically, your iPhone device is approved without doing anything.
2. Turning off the iCloud Keychain
Step-1: Firstly, click on Cancel to skip the “Approve the iPhone” window once it pops up.
Step-2: Now go to your iPhone Settings.
Step-3: Next, go to Apple ID.
Step-4: Then, turn off the iCloud keychain.
Step-5: Now, switch off your iPhone and switch it on again.
Step-6: Go to the iPhone Settings again.
Step-7: Click on the Apple ID.
Step-8: And turn off the iCloud keychain again.
Step-9: Then, retry the “Approve this iPhone” window, and you won’t see the feature again.
Step-10: Automatically, your iPhone will be approved.
Read Also: How to Delete Photos from iPhone Storage (Permanently)
Conclusion
In conclusion, these are the available two methods to avoid the “Approve this iPhone” feature.
Hence, I only suggest you use them when needed at your own risk, and you will be responsible for how you protect your data.
Now, you have learned how to approve iPhone on iCloud by using the Apple ID verification code steps on Mac or other iOS devices.
Also, get to know how to avoid the “Approve this iPhone” feature on your device.
Make sure not to disable it permanently to avoid risking your data.
Take advantage of all this process and approve your iPhone with ease anytime, any day.
Enjoy!
Read Also: How to Erase iPhone Without Passcode in 2022 (3 Ways)
